Are you planning to sell your home? If so, creating an attractive and informative online listing can help you attract potential buyers.

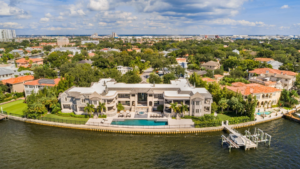
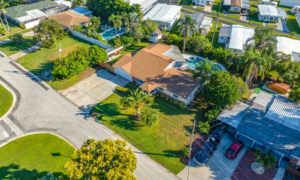
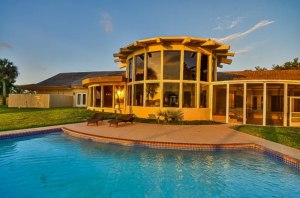
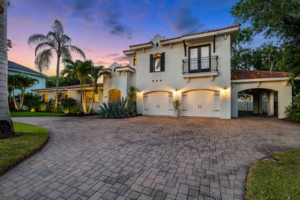
An important element of a compelling listing is high-quality photos that showcase your property’s unique features. Luckily, uploading photos to Zillow – the popular online real estate marketplace – is a straightforward process. In this article, we’ll guide you through the step-by-step process of uploading photos to Zillow, so you can create a winning listing that captures the attention of potential buyers.
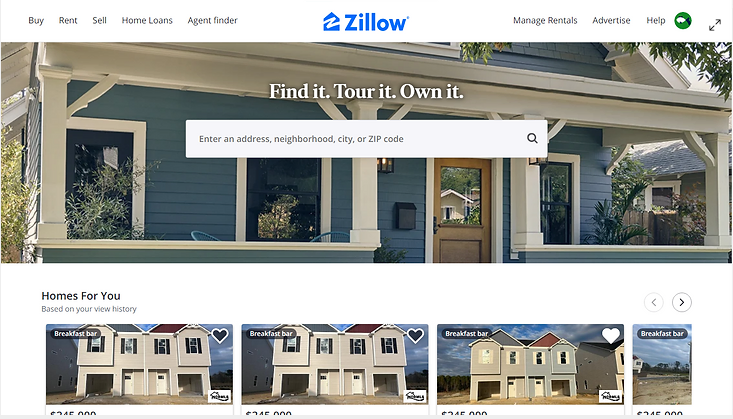
Log In/Sign Up
Before you start uploading photos for your property, it’s important to have a Zillow account. If you already have an account, make sure you’re logged in to get started. If you don’t have an account yet, you can create one on the Zillow website.
It’s important to ensure that you provide accurate personal information and valid credentials when creating your account, as Zillow has a thorough verification process to ensure the legitimacy of its users. This helps to maintain the integrity of the platform and creates a safer environment for buyers and sellers alike. Once you have an account and are logged in, you can proceed to the next step in the process.
Accessing Your Home
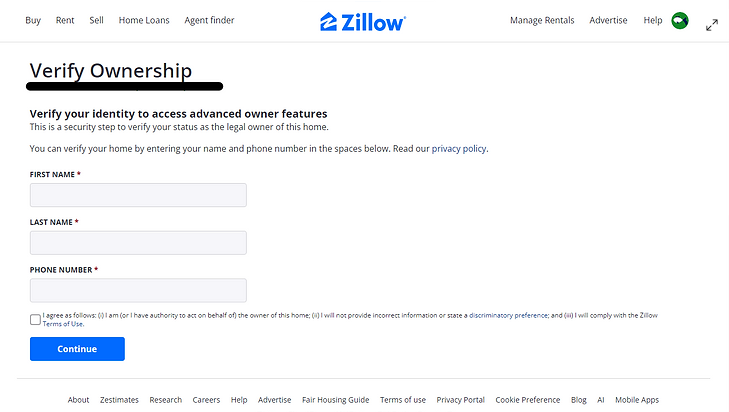
To access information about your home you’ll need to claim the address as yours on the site. To learn how to do so click here. After claiming your home you will be asked to verify the address as your own through either call or text message verification.
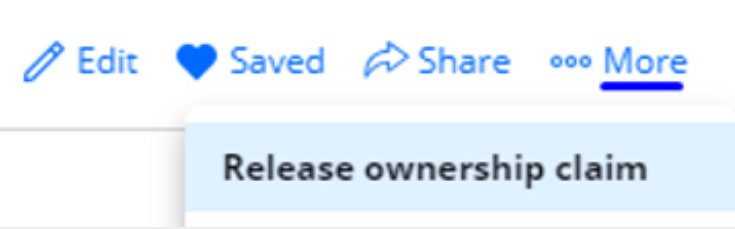
When verification is complete you will be able to access your home information in the dropdown navigation tab under “My Homes.” From the My Home page you will be able to access any properties that you intend to list. If you want to remove a property from your home list navigate to the “More” tab and select “Release Ownership Claim.”
Managing Media
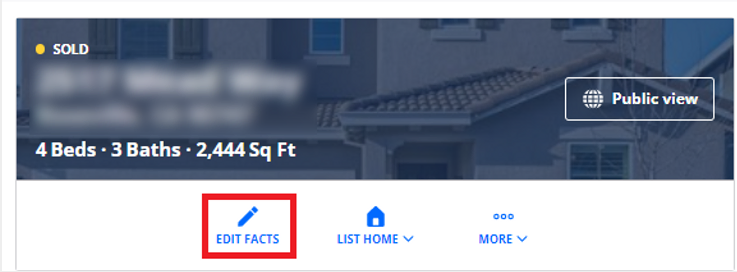
To get to the page where you can upload photos and videos to your listing navigate to the “Edit Facts” tab.
From there you can access the upload media button which will allow you to choose images from your computer or mobile device. If you accidentally choose a photo you don’t want to upload you can click the “X” in the top right corner of a photo to remove it.
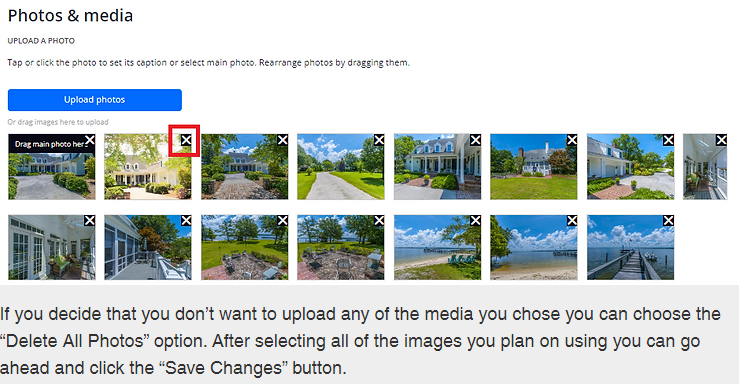
If you decide that you don’t want to upload any of the media you chose you can choose the “Delete All Photos” option. After selecting all of the images you plan on using you can go ahead and click the “Save Changes” button.
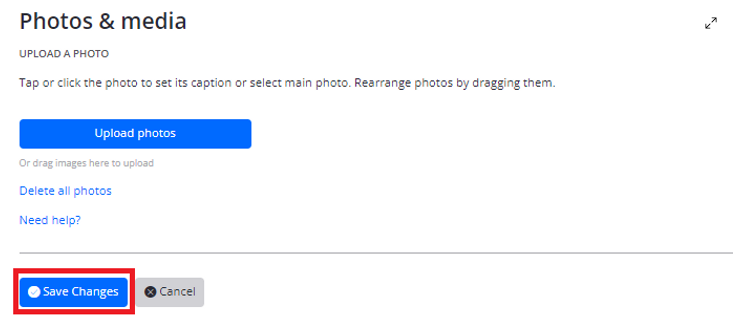
You will be able to go back and make changes to the photos in your listing at any point.
Closing
To create a compelling listing that garners views and offers you must make use of high-quality photo or video that showcases the beauty of your property. Hopefully, the process of navigating Zillow and managing your property is a little clearer after following the steps provided in the article. To get professional quality service for good fixed rates consider checking out SellFastPhoto for your real estate photography needs. To learn more about our team and what we do click here, for price estimates click here and to contact one of our photographers today click here.